Although the title may sound surprising—“Title Not Found”—this article will bring you essential information about transferring and managing eSIM to ensure your iPhone sale or device change in 2025 goes smoothly, securely, and without unintended recurring charges.
Why eSIM Is Important for New iPhone Generations
Since the iPhone 14, models sold in some countries no longer include a physical SIM tray. In 2025, new iPhone models and iOS 18 are pushing toward an eSIM-only standard. Understanding eSIM management has therefore become an essential skill for modern smartphone users.
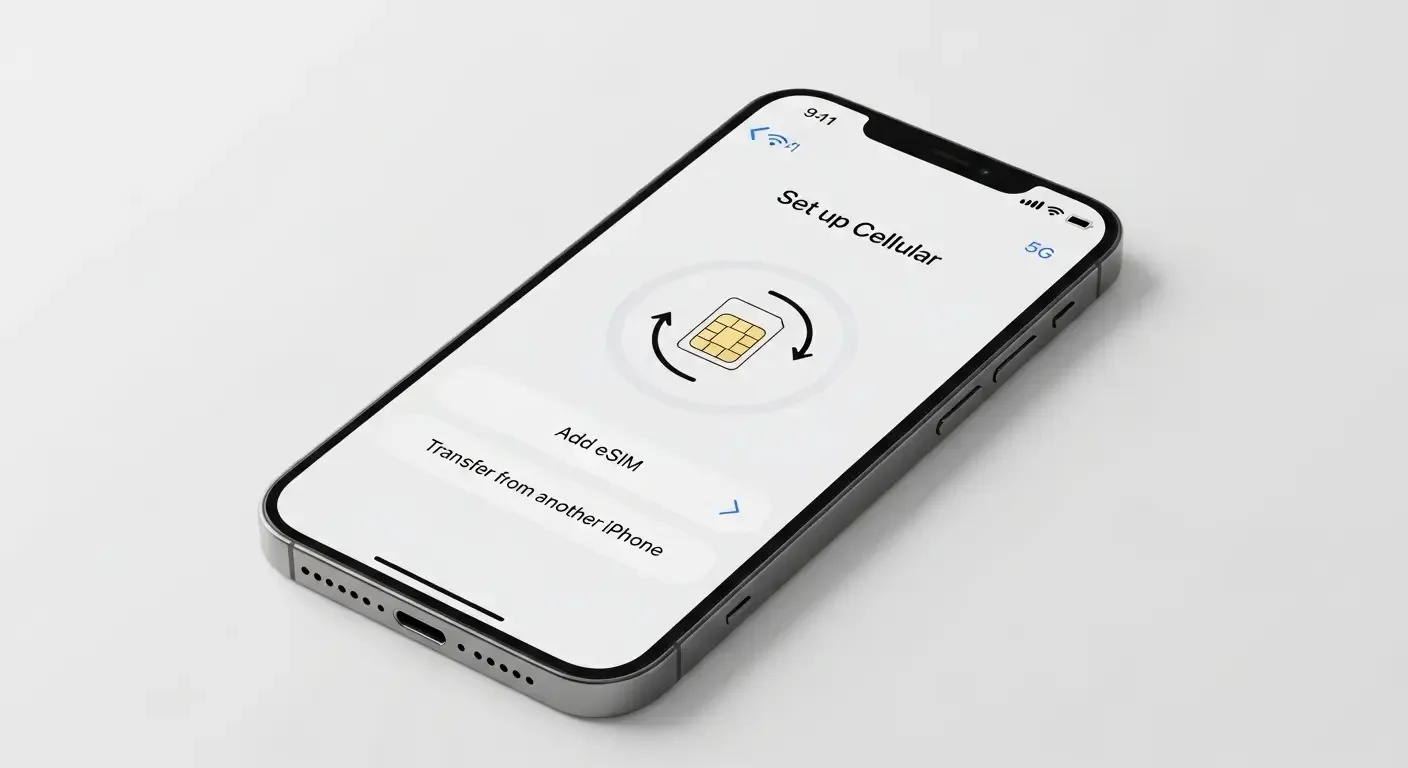
How to Transfer eSIM Using eSIM Quick Transfer
eSIM Quick Transfer is a key feature that allows iPhone users to move their phone number from an old device to a new one without contacting their carrier. In iOS 18, the process has been updated to be simpler and more secure, requiring biometric verification before initiating the transfer.
Steps to Transfer eSIM
- Turn on the new iPhone running iOS 18 and follow the initial setup screen.
- Select Set Up eSIM and tap Transfer eSIM from an old iPhone.
- Ensure your old iPhone is nearby and Bluetooth is enabled.
- Tap “Confirm” on the old iPhone to start the transfer, then authenticate with Face ID or Touch ID.
- After completion, the network will connect automatically.
Tip: If the transfer fails, check biometric authentication and restart both devices before trying again.
Managing Multiple eSIM Profiles
Some users may have multiple phone numbers on one device, especially those using Pro models or devices that support Dual eSIM. Properly managing these profiles is crucial before selling or switching to a new phone.
- Go to Settings > Cellular.
- Select the number you no longer need and tap Delete eSIM Profile.
- Ensure only unwanted profiles are deleted for both security and ease of future use.
Preparing to Sell an eSIM-only iPhone
For new iPhone models without SIM trays, such as iPhone 15 and 16 sold in some regions, preparation before selling should include:
- Delete all eSIM profiles linked to the device.
- Disconnect from your Apple ID account.
- Sign out of Find My iPhone and perform a factory reset.
Deleting eSIM profiles allows the buyer to register a new number easily without issues from the previous owner’s SIM.
Canceling the Cellular Plan of an Apple Watch Linked to an iPhone
Before selling an iPhone paired with an Apple Watch that has a cellular plan, don’t forget to cancel the plan first. You can do this from the Watch app on your iPhone:
- Open the Watch app and select Cellular.
- Tap on the plan and choose Remove Plan.
- Confirm deletion and restart both devices.
Transferring eSIM Across Operating Systems (iOS → Android and vice versa)
In 2025, the cross-platform eSIM transfer standard developed by GSMA has begun rolling out. This allows transfers from iOS to Android or Android to iOS to be performed more securely and conveniently, with some models supporting inter-platform transfer via QR Code or carrier Cloud Account verification.
However, always check with your carrier first, as steps and policies can vary among networks like AIS, True, and dtac.
Common Issues When Transferring eSIM
- eSIM transfer fails due to biometric issue: Retry authentication or restart both devices.
- New device doesn’t detect eSIM: Check the iOS version and update to the latest release.
- No network after transfer: Try deleting and reinstalling the eSIM using a QR code from your carrier.
FAQ: Common Questions About eSIM and Device Selling
Do I need to contact my carrier every time I transfer eSIM?
No. If using eSIM Quick Transfer, you can complete the process yourself in just a few steps.
Can I transfer eSIM directly from iPhone to Android yet?
Yes, on some models compatible with the new standard, through carriers offering cross-platform transfer features beginning in 2025.
Should I reset my device before selling?
Absolutely. This ensures your personal data remains secure and prevents access to your old number or accounts.
References