Time Machine is a powerful built-in macOS tool that simplifies the backup process, ensuring that your files, apps, settings, and even your entire system are securely stored. If you’ve ever worried about data loss, Time Machine provides an easy and automated solution. In this guide, we’ll walk you through everything you need to know about backing up your Mac with Time Machine, from initial setup to expert tips for maximizing efficiency.
What is Time Machine?
Time Machine is macOS’s built-in automatic backup feature that allows you to restore files, applications, and system settings in case of accidental deletion, hardware failure, or software issues. With a simple setup, Time Machine runs seamlessly in the background without interrupting your workflow.
Why Should You Back Up Your Mac with Time Machine?
Backing up with Time Machine protects your data from:
- Hardware failure – Prevent data loss if your Mac’s hard drive fails.
- Accidental file deletion – Restore deleted files or previous versions of documents.
- macOS reinstallation – Easily recover your files after a macOS update or clean install.
- Malware or cyber threats – Restore your Mac to a pre-infected state.
What You Need to Back Up Your Mac
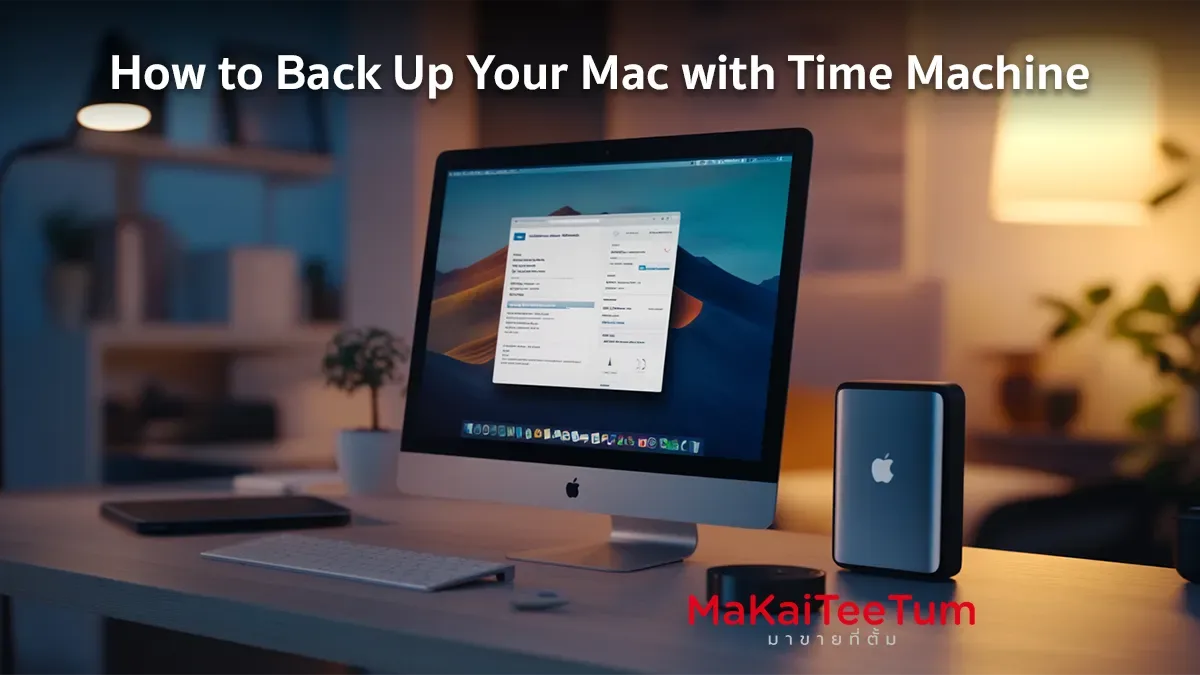
Before setting up Time Machine, ensure you have a compatible storage device:
- External Hard Drive: A USB, Thunderbolt, or FireWire drive with storage capacity larger than your Mac’s internal storage is recommended.
- Time Capsule or Network Storage: Ideal for wireless backups.
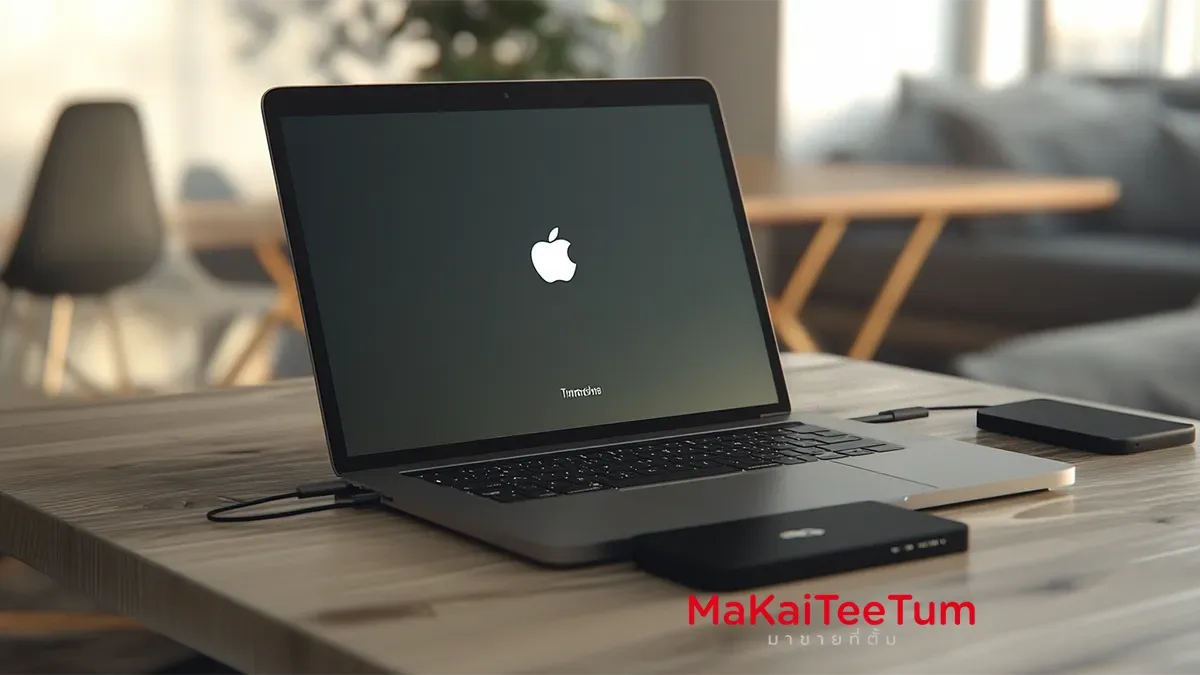
How to Set Up Time Machine on Your Mac
- Connect Your Backup Drive
Plug in your external hard drive or connect to a network storage device. - Enable Time Machine
- Go to System Preferences > Time Machine
- Click Select Backup Disk
- Choose the external drive or network storage
- Enable Back Up Automatically to allow continuous backups
- Configure Additional Options
- Exclude unnecessary folders from backups by clicking Options
- Ensure Show Time Machine in Menu Bar is enabled for quick access
How to Monitor Your Backup Status
Once Time Machine is running, you can check the backup status by:
- Clicking the Time Machine icon in the menu bar
- Opening Time Machine Preferences to view the last backup details
How to Restore Data Using Time Machine
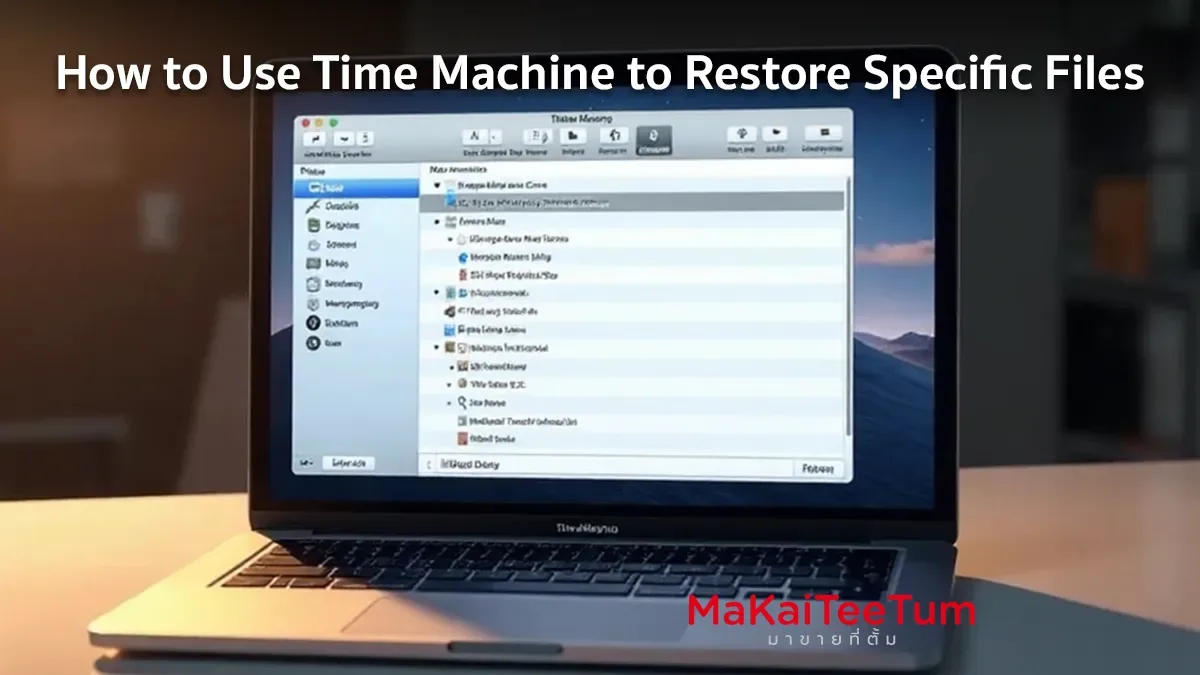
- Restoring Individual Files
- Open Finder
- Click the Time Machine icon in the menu bar
- Browse the timeline and select the desired version of the file
- Click Restore
- Restoring Your Entire System
- Restart your Mac and hold Command (⌘) + R to enter macOS Recovery Mode
- Select Restore from Time Machine Backup
- Choose your backup disk and the desired backup date
Tips for Using Time Machine Effectively
- Check backups regularly – Ensure your backups are up to date.
- Use a reliable external drive – A high-speed drive ensures faster backups and restores.
- Manage storage space – Time Machine automatically deletes older backups when the disk is full, but reviewing them periodically is recommended.
Pros and Cons of Time Machine
✅ Pros:
- Easy setup and automated backups
- Complete system and file backups
- Effortless restoration of data
❌ Cons:
- Requires external or network storage
- Initial backup may take several hours
References: Apple Official Website, MacRumors, iMore, 9to5Mac