Time Machine is macOS’s built-in backup solution, allowing users to recover lost or deleted files quickly and efficiently. While it is commonly used for full system restores, it also enables users to retrieve specific files without affecting the entire system. This article provides a detailed guide on using Time Machine to restore specific files, along with troubleshooting tips and best practices to ensure smooth file recovery.
What is Time Machine?
Time Machine is Apple’s automatic backup system designed to store snapshots of your Mac’s data, allowing you to restore lost files, recover older versions of documents, or restore your system after a crash.
Benefits of Using Time Machine for File Recovery
- ✅ Recover accidentally deleted files easily
- ✅ Restore specific files without affecting the entire system
- ✅ User-friendly interface for quick recovery
- ✅ Automatic backups ensure older file versions are always available
Preparing to Restore Files with Time Machine
Before proceeding, ensure the following:
- Time Machine backups are enabled and up to date
- Your external hard drive or Time Capsule is connected
- Verify the date and time of the backup to locate the correct file version
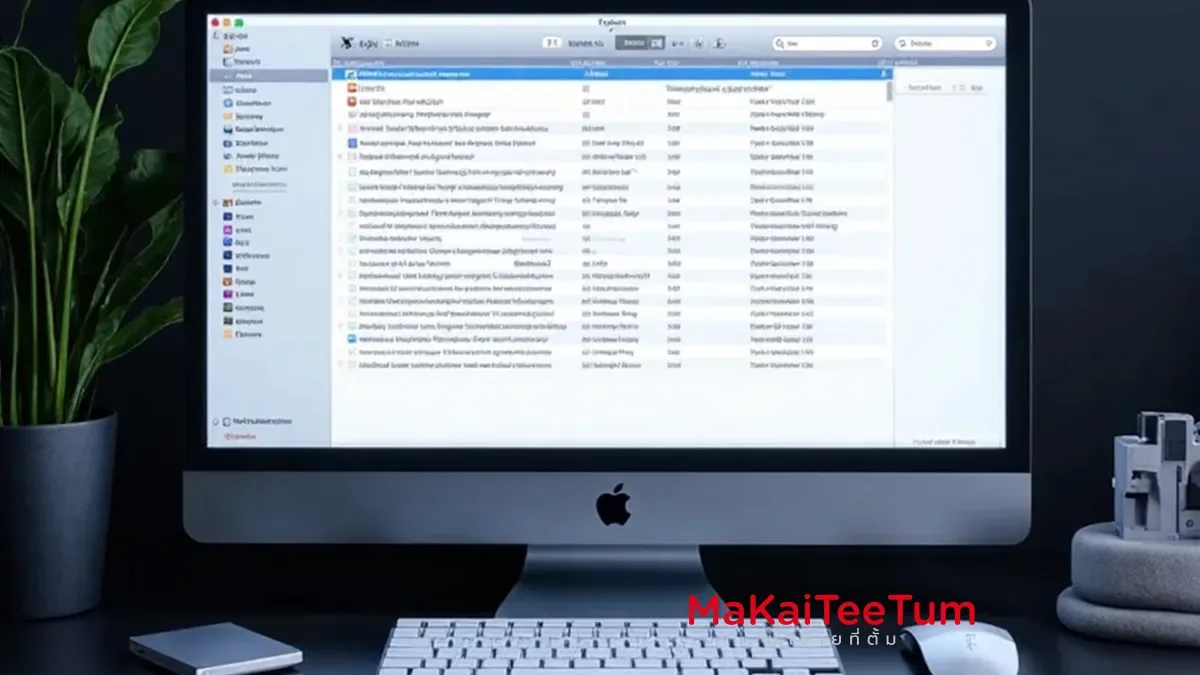
How to Use Time Machine to Restore Specific Files
Restoring Files via Finder
- Open Finder and navigate to the folder where the file was originally stored.
- Click the Time Machine icon from the menu bar or press Command + Spacebar and search for “Time Machine.”
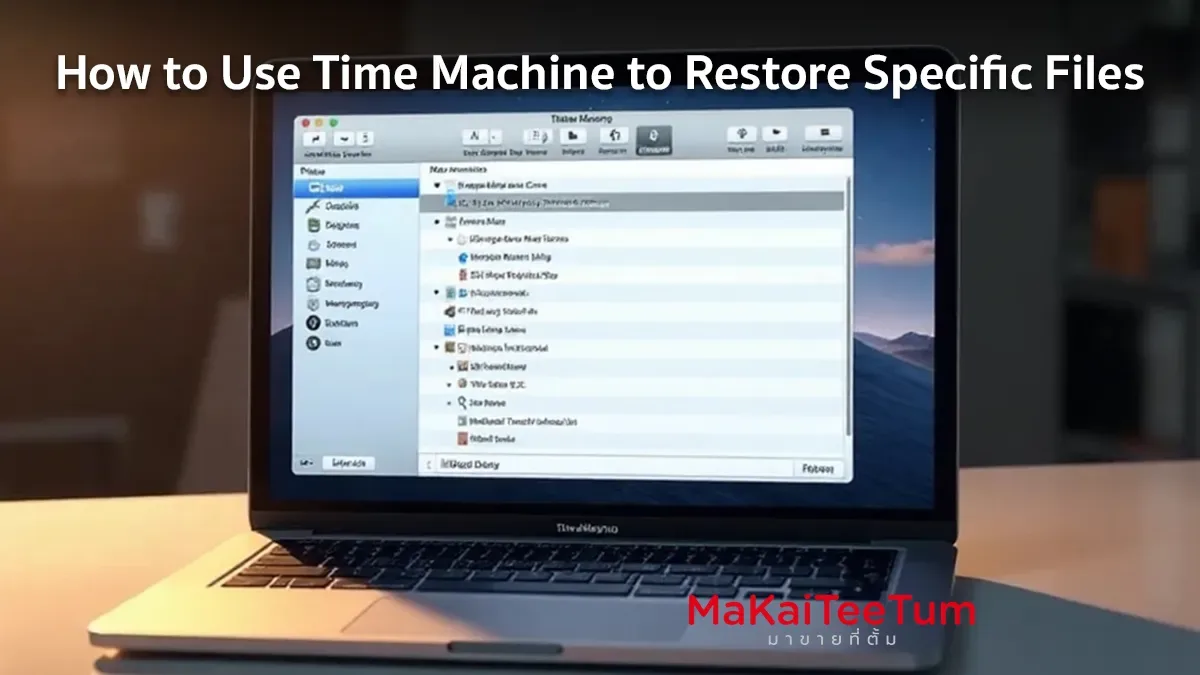
- The Time Machine interface will appear, showing a timeline of backups.
- Use the timeline or arrow keys to browse previous versions of the folder.
- Select the desired file and click Restore to recover it to its original location.
Restoring Files from the Desktop or Other Folders
- If a file was previously stored on the desktop, open Time Machine while on the desktop and follow the same steps.
- The process also works for folders like Documents, Downloads, and Applications using Finder.
How to Restore an Older Version of a File Using Time Machine
If you need to revert to a previous version of a document:
- Open the document you wish to restore.
- Launch Time Machine and navigate to an earlier version.
- Click Restore to replace the current version with the selected one.
What to Do If You Can’t Access Time Machine via Finder
If Finder does not open Time Machine, you can restore files using macOS Recovery Mode:
- Restart your Mac and hold Command + R until the Apple logo appears.
- Select Restore from Time Machine Backup from the options.
- Choose your backup disk and locate the correct version of the file.
Troubleshooting Common Time Machine Issues
If you encounter problems while restoring files, try these solutions:
- Ensure the external drive is properly connected
- Restart your Mac and reopen Time Machine
- Check if the backup disk has sufficient space
Best Practices for Using Time Machine Effectively
- Enable Automatic Backups – Go to System Settings > Time Machine and turn on Automatic Backups
- Use a High-Capacity External Drive – To store backups for a longer period
- Regularly Disconnect Backup Drive – To prevent data loss from hardware failures
References: Apple Official Website, MacRumors, iMore, 9to5Mac