The MacBook is one of the most popular laptops worldwide, loved for its stable macOS and full-featured ecosystem. However, no matter how reliable the device is, there’s always a chance that important data can be lost due to unexpected events such as power outages, hard drive failure, or even malware attacks. That’s why creating regular backups is a must for every MacBook user.
Why Back Up Your Data?
Backing up means copying files—or the entire system—from your MacBook to a secure storage location, so you can restore them in case of disaster. Having a backup is like having a safety net because:
- It prevents permanent data loss if your device is damaged or stolen
- It reduces risk from malware and ransomware that may delete or encrypt files
- It makes upgrades smoother with no missing files
- It makes switching devices easier by transferring all data quickly
Safe Methods to Back Up a MacBook
macOS offers multiple backup options. You can use one method or combine them for stronger protection.
1. Use Time Machine
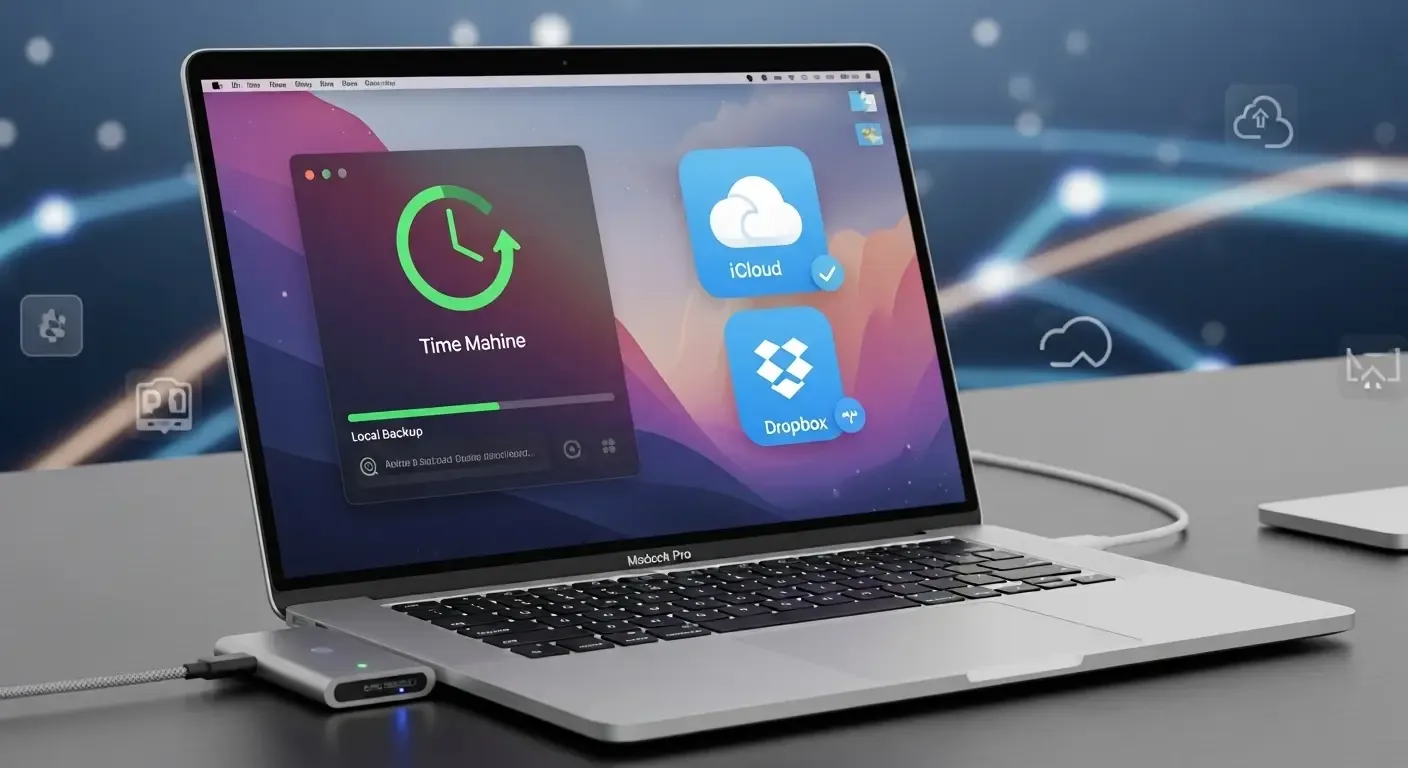
Time Machine is Apple’s built-in automatic backup system. It works seamlessly with external drives or NAS (Network Attached Storage).
How to set up:
- Connect an external hard drive to your MacBook
- macOS will prompt to use it for Time Machine
- Select “Use as Backup Disk”
- Backups will then run automatically every hour
Pros: Full system backup, easy to restore previous versions of files, user-friendly interface
Cons: Requires external storage, less convenient for frequent travelers
2. Back Up with iCloud
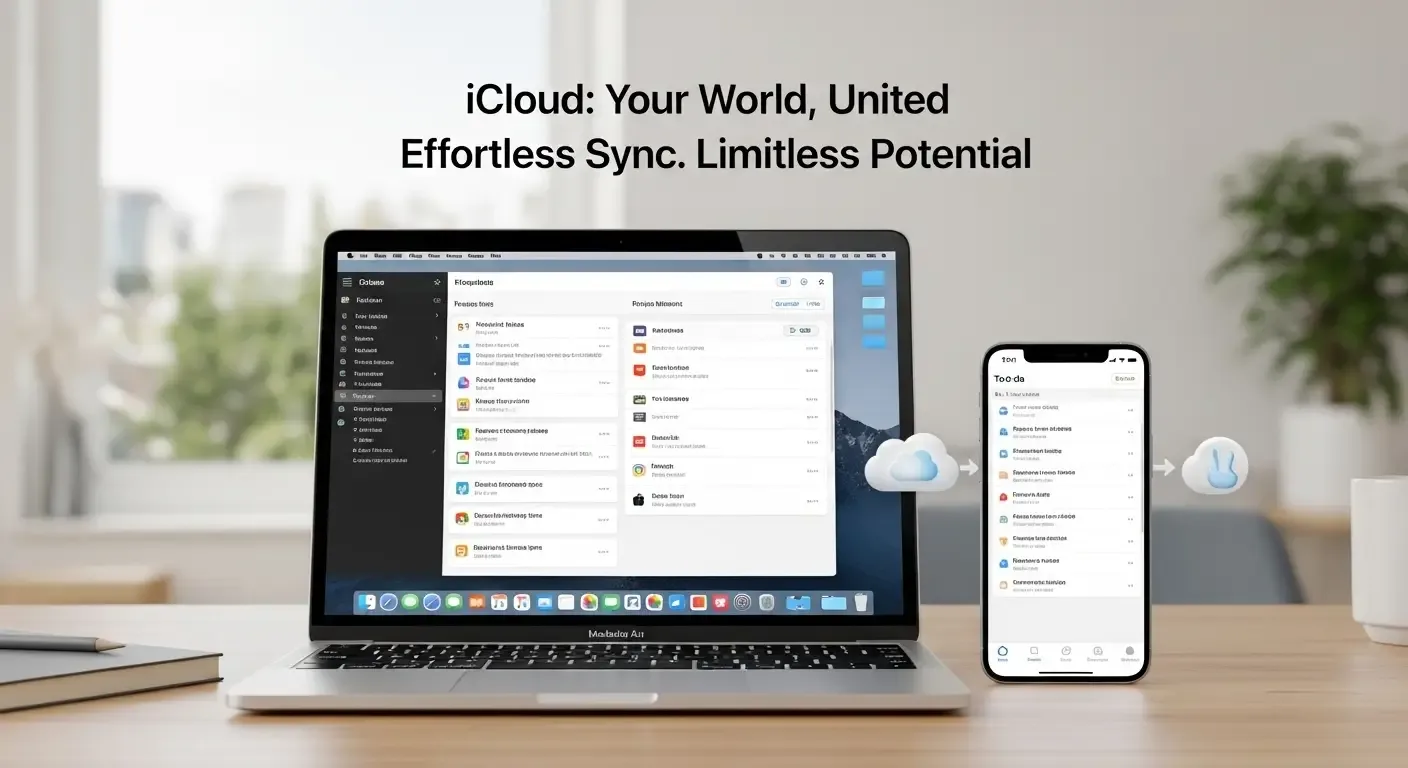
iCloud stores files, photos, contacts, calendars, and more across all Apple devices automatically.
How to enable:
- Go to System Settings > Apple ID > iCloud
- Turn on iCloud Drive and choose which data to sync
Pros: Access files anywhere on any Apple device, automatic syncing
Cons: Only 5GB free; more storage requires a subscription
3. Manual Backups with External SSD/HDD
If you prefer control, copy files manually to an external SSD or HDD—especially important folders like Documents, Photos, or work projects.
Pros: No internet required, fast read/write speeds, good for large files
Cons: Must be done manually, risk of forgetting or being inconsistent
4. Use Other Cloud Storage Services
Beyond iCloud, you can use third-party services such as:
- Google Drive – 15GB free, integrates with Google Docs/Sheets
- Dropbox – Great for file sharing and team collaboration
- OneDrive – Comes with Microsoft 365, ideal for Office users
Cloud backups lower the risk of data loss if your device is lost and allow access anywhere.
Tips for Safe and Effective Backups
- Automate your backups (e.g., Time Machine) so you never miss critical files
- Use passwords and encryption on both external drives and cloud storage
- Store backup devices separately from your MacBook in case of fire, theft, or accidents
- Test your backups regularly by restoring files to confirm everything works
What to Avoid When Backing Up
- Never keep backups on the same MacBook drive
- Don’t forget to update macOS and backup apps
- Avoid using old or unreliable storage media
FAQ: MacBook Backup Questions
Q: If my MacBook is lost, how do I recover files from Time Machine?
A: Connect the backup drive to your new Mac, open Migration Assistant, and restore from Time Machine. All files and settings will transfer.
Q: Is iCloud enough to back up my whole Mac?
A: Not entirely. iCloud mainly stores files, photos, and supported app data. For a full system backup, combine iCloud with Time Machine.
Q: Can I use Time Machine and iCloud together?
A: Yes, and it’s recommended. iCloud handles frequently changing files, while Time Machine backs up the entire system.
Conclusion
Backing up your MacBook safely doesn’t have to be complicated. With tools like Time Machine, iCloud, external drives, or cloud services, you can minimize or completely avoid data loss. Make backups a routine habit to ensure your digital life is always protected.
Don’t wait until disaster strikes—start backing up today!