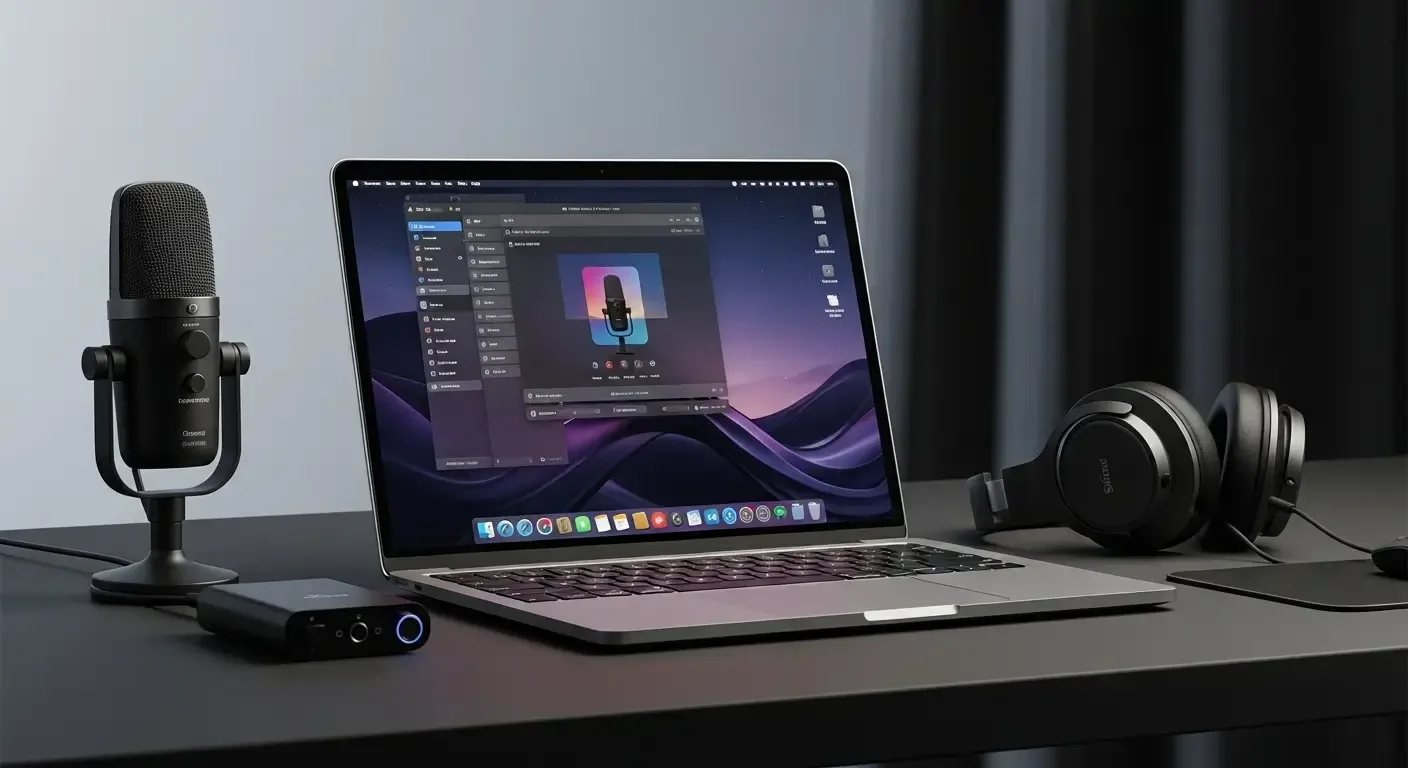
In 2025, screen recording on Mac has made major leaps forward in both hardware and software technologies. From the growing demand for vertical content creation on social media to improved audio quality and AI-assisted video workflows, this article walks you through the latest techniques to help you record your screen more professionally than ever.
1. Getting Started with Screen Recording on macOS
macOS comes with a built-in, easy-to-use screen recording tool — the Screenshot Toolbar (press Shift + Command + 5) — that allows you to record the entire screen, a specific window, or a selected portion. You can also choose whether to record audio from your microphone.
2. Recording Vertical Videos
In the era of TikTok, Instagram Reels, and YouTube Shorts, vertical content has become a must for creators. To record vertical videos on your Mac, set the video source aspect ratio in software like OBS Studio to 9:16, then configure the output to a high resolution like 1080×1920 — perfect for any vertical platform.
3. The Power of Apple Silicon for Video Recording
New Mac models powered by Apple Silicon (M-series) feature a Media Engine that accelerates HEVC and H.264 video encoding efficiently, making it possible to record or stream in 4K 60fps resolution while consuming less power and keeping your machine cool.
4. Using AI in Recording and Editing Workflows
2025 marks the era of AI-enhanced video creation workflows, including:
- Automatic Editing: New apps like Descript or Final Cut Pro 2025 can let AI identify key moments and create suitable edits instantly.
- Transcription: Convert speech to Thai or English text using built-in Speech-to-Text on macOS.
- Automated Summaries: AI can quickly extract key points to generate captions or social posts.
- Noise Reduction: Tools like Audio Hijack or Tella AI Tools can automatically filter background noise.
5. Capturing System Audio
macOS doesn’t natively allow internal audio recording, but tools like BlackHole or Loopback can create virtual audio routes to capture system sound — ideal for recording tutorials, apps, or gameplay videos.
6. Cloud-Based Recording Tools
Modern workflows demand flexibility. Tools like Loom, Descript, and Tella are popular cloud-based options that record your screen and webcam simultaneously, upload recordings instantly, and let you share via link or collaborate in real time. Many also feature AI-powered transcription and content summarization.
7. Recording iPhone/iPad Screens via Mac with QuickTime
Many users don’t realize that QuickTime Player can record screens directly from an iPhone or iPad. Simply connect your device via USB, choose ‘New Movie Recording,’ select your iOS device as the camera source, and start recording without additional apps — perfect for developers and online educators.
8. Advanced Tips for Pro Users
- Use the HEVC (H.265) format to maintain high video quality with smaller file sizes.
- Optimize your OBS profile for Apple Silicon to fully utilize hardware-accelerated encoding through the Media Engine.
- Use an external monitor to better manage your layout and recording setup.
9. Frequently Asked Questions (FAQ)
Q: Which app is best for beginners to record their Mac screen?
A: For beginners, QuickTime Player is simple and free. Those seeking advanced features should try OBS Studio or Loom.
Q: How do I record vertical videos?
A: Set your OBS canvas to 1080×1920 or choose Portrait mode in your recording software to match the 9:16 ratio preferred by social media platforms.
Q: How can I record system audio?
A: Install BlackHole or use Loopback to capture internal system audio while recording your screen.
References
- Apple Support: How to record the screen on your Mac
- OBS Project: Official documentation and guides for macOS
- Rogue Amoeba: Audio Hijack & Loopback Blog (for advanced audio capture techniques)
- GitHub: existential-audio/BlackHole (for installation and troubleshooting info)